
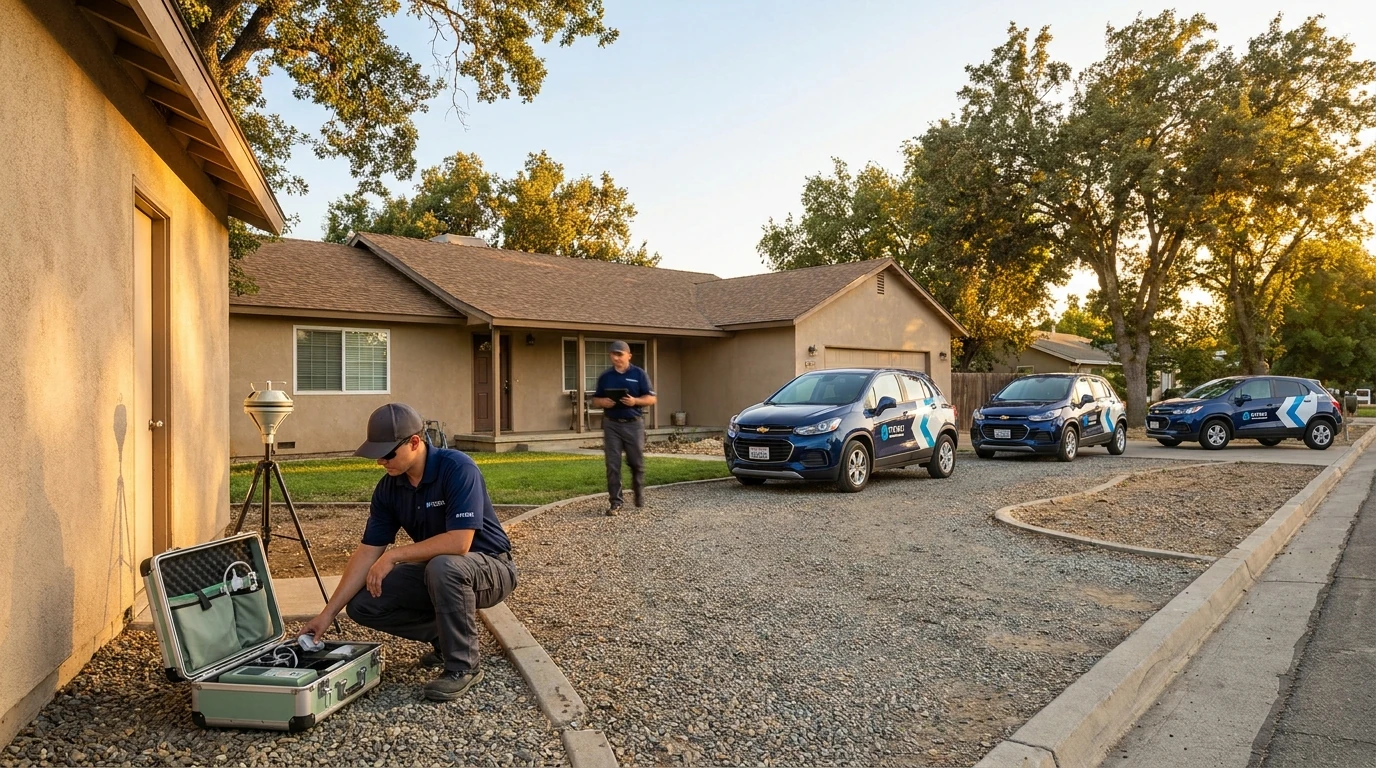
Both methods test for mold, but they answer different questions, and using the wrong one can leave you with results that don’t actually help you. Air sampling measures what you’re breathing right now: the concentration and types of mold spores floating in a given space. Surface sampling identifies what’s growing on a specific material, a wall, a ceiling tile, a duct flange. Most situations call for one or the other, not both. A few genuinely need both. The choice depends on what you already know, what you’re trying to prove, and what decision you’ll make with the results.
What Air Sampling Actually Measures
An air sample is collected by drawing a measured volume of air through a cassette or impactor that traps particles on a collection medium. A lab then counts and identifies the spores caught in that sample. The result is expressed as spores per cubic meter, and it’s compared against an outdoor control sample taken at the same time, because some level of mold spores is normal everywhere, including inside your home.
Air sampling is most useful when:
- You have symptoms (musty odor, unexplained respiratory irritation, allergy-like reactions) but no visible mold
- You’ve completed a remediation and need clearance testing to confirm spore counts returned to normal
- An insurance carrier or a buyer’s lender requires documentation of indoor air quality
- You’re trying to establish whether a hidden source is actively releasing spores into the living space
One important limitation: air sampling is a snapshot. Spore counts fluctuate with HVAC cycles, humidity, and whether anyone has disturbed the area recently. A single sample on a calm day in a closed room can miss an active problem. That’s why a qualified inspector collects multiple samples, typically one per suspect area plus the outdoor control, and interprets them together rather than treating any single number as definitive.
What Surface Sampling Actually Measures
Surface sampling collects material directly from a specific spot: a tape lift pressed against a stain, a swab drawn across a surface, or a small bulk sample cut from a material like drywall or insulation. The lab identifies the genus (and sometimes species) of whatever is growing there.
Surface sampling answers a different question: Is this actually mold, and if so, what kind?
It’s the right tool when:
- You can see a stain or discoloration and need to confirm whether it’s mold or something else (efflorescence, soot, old paint)
- You’re dealing with a material that has a known history of moisture exposure and you want to know if colonization has started
- A specific genus matters, for example, distinguishing Stachybotrys (the slow-growing, water-damaged-cellulose mold often called “black mold”) from more common species like Cladosporium or Penicillium/Aspergillus
- You’re documenting the scope of contamination for a remediation contractor or an insurance claim
Surface sampling won’t tell you whether spores are becoming airborne or affecting the rest of the building. A heavily colonized wall cavity can produce a surprisingly low air sample count if the area is sealed, and a low surface count in a room doesn’t mean the air is clean if there’s a hidden source nearby.
When You Need Both
Some situations genuinely call for combining the two methods, and a good inspector will tell you why rather than simply billing for more tests.
The clearest case: you have a visible growth and occupants with ongoing symptoms. Surface sampling identifies what’s on the material; air sampling tells you whether it’s affecting the indoor environment broadly. Together, they give the remediation contractor a clearer picture of scope and help establish a pre/post baseline.
Another common scenario: post-remediation clearance. After a contractor has removed contaminated material and dried the structure, clearance testing typically includes air sampling to confirm spore counts have normalized. If counts are still elevated, a surface sample from any remaining suspect area can pinpoint whether the source was fully addressed.
For routine situations, a small stain after a single plumbing leak, a musty smell in one room, you usually don’t need an exhaustive battery of both. A qualified inspector can walk the space, identify the most likely source, and recommend the minimum testing that will actually answer your question.
What Not to Do Before Testing
The way you prepare (or don’t prepare) for sampling affects the results significantly.
- Don’t run HVAC aggressively before air sampling. Cranking the system before a test can dilute spore counts and produce a falsely low reading. Run the system normally in the days leading up to the inspection.
- Don’t clean or paint over the suspect surface before surface sampling. Bleach and paint don’t eliminate mold in porous materials, they mask it at the surface, but they will interfere with a tape lift or swab result.
- Don’t disturb the area. Moving boxes, pulling up carpet, or opening wall cavities releases spores into the air and can skew air sample results in either direction.
- Don’t rely on a DIY test kit for decisions that matter. Consumer mold test kits, the kind you leave open on a counter, are settle-plate collectors that will grow something in almost any indoor environment. They can’t tell you concentration, can’t give you an outdoor control comparison, and aren’t accepted by insurance carriers or courts.
When to Call a Professional Inspector
You can do a lot of your own visual assessment: look for water staining, check under sinks and around the base of toilets, smell for that distinctive earthy-musty odor that often precedes visible growth. But sampling itself should be handled by someone with the training and equipment to collect, document, and interpret results correctly.
Call a professional when:
- The affected area is larger than a few square feet, or you suspect the source is hidden (inside walls, under flooring, in the attic)
- You’re preparing to buy or sell a property and need documentation
- An insurance claim is involved, carriers want chain-of-custody lab reports, not photos of a stain
- Occupants are immunocompromised, have asthma, or are experiencing symptoms that haven’t resolved after an obvious moisture source was fixed
- You’ve already had remediation done and want to confirm it worked
Arch Environmental Group LLC offers mold inspection and testing services in Kingsburg and the surrounding San Joaquin Valley. The Central Valley’s combination of agricultural dust, seasonal humidity swings, and older housing stock, much of it built before modern vapor barriers were standard, creates conditions where mold can establish in places that aren’t obvious from a visual walkthrough alone. A professional inspection accounts for those variables rather than treating every building the same way.
How to Use Your Results
Once you have a lab report, the numbers only matter in context. An air sample showing elevated Penicillium/Aspergillus counts means something different in a home with a recent roof leak than in a home next to an almond-processing facility during harvest season. A surface sample confirming Stachybotrys on drywall tells you the material was wet for a long time, that genus grows slowly and needs sustained moisture, which changes the remediation scope.
A good inspector doesn’t just hand you a report. They explain what the findings mean for your specific situation, whether remediation is warranted, and what a reasonable scope of work looks like. That context is what you’re actually paying for.
If you’re trying to decide whether to test, what type of testing makes sense, or what to do with results you already have, a conversation with a qualified inspector is usually the fastest path to clarity. Arch Environmental Group LLC can be reached at (559) 296-2088.